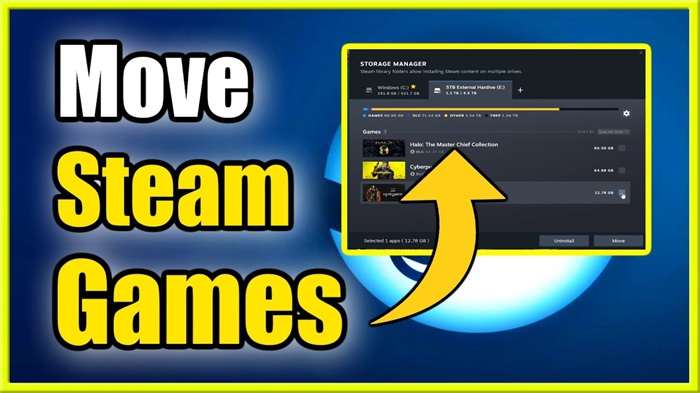
Whether you’re running out of space on your primary drive or simply want to manage your game library more efficiently, moving Steam games to another drive can be a game-changer. This guide walks you through the process with detailed steps, tips, and troubleshooting advice to ensure a smooth transition for your beloved games.
Why Move Steam Games?

Space Management
One of the primary reasons to move Steam games is to free up space on your main drive, which is often an SSD with limited storage. By relocating games to a secondary drive, such as an HDD or a larger SSD, you can keep your primary drive optimized for system performance and faster game load times.
Performance Optimization
In some cases, moving games to a drive with more available space or a faster read/write speed can improve game performance. This is particularly relevant for games with large asset files or those that benefit from higher transfer speeds.
Backup and Storage Solutions
Transferring games to an external drive or another internal drive can be a practical backup solution. This way, you ensure that your games are safe and can be accessed from different systems if needed.
Preparing for the Move
Before you start moving your Steam games, there are a few preparations you’ll need to make:
Backup Your Data
Although moving games through Steam is generally safe, it’s always wise to back up your game data. This can be done through Steam Cloud saves, or by manually copying save files from the game’s directory.
Check Disk Space
Ensure that the destination drive has enough space to accommodate the games you plan to move. If you’re unsure how much space is available, you can check this in your computer’s storage settings.
Install Steam on the New Drive
If you haven’t already, you might need to install Steam on the drive you plan to use for moving games. This isn’t always necessary, but it can simplify the process.
Moving Steam Games to Another Drive

Method 1: Using Steam’s Built-In Feature
Steam has a built-in feature that allows you to move games between drives easily.
Step-by-Step Guide
- Open Steam: Launch the Steam client on your computer.
- Go to Settings: Click on the “Steam” menu in the top-left corner, then select “Settings.”
- Navigate to Downloads: In the Settings menu, click on the “Downloads” tab.
- Steam Library Folders: Click on “Steam Library Folders” to manage your library locations.
- Add a New Library Folder: Click “Add Library Folder” and select the new drive or location where you want to move your games. Steam will create a new folder on this drive.
- Move the Game: Close the Settings menu and go to your Library. Right-click on the game you want to move, select “Properties,” then navigate to the “Local Files” tab and click “Move Install Folder.”
- Choose Destination: Select the new library folder you just created and click “Move.” Steam will handle the transfer process.
Method 2: Manually Moving Game Files
If you prefer a more hands-on approach, you can manually move your game files. This method is useful if Steam’s built-in feature doesn’t work for some reason.
Step-by-Step Guide
- Locate Your Game Files: Go to the Steam installation directory (usually
C:\Program Files (x86)\Steam\steamapps\common) and find the game you want to move. - Copy Game Files: Copy the entire game folder to the new drive and desired location.
- Remove the Game from Steam: In the Steam client, right-click the game and select “Manage” > “Uninstall.” This step will remove the game from Steam but leave the game files on the new drive.
- Add the Game Back: Go back to Steam and click “Install” for the game. When prompted, choose the folder on the new drive where you copied the files. Steam will detect the existing files and validate them, skipping the download process.
Method 3: Using Third-Party Tools
Several third-party tools can automate the process of moving Steam games. Tools like Steam Mover or GameSave Manager can be helpful if you prefer a more automated approach.
Step-by-Step Guide
- Download a Tool: Download and install a third-party tool designed for moving games.
- Select Games to Move: Open the tool and choose the games you want to transfer.
- Choose Destination: Select the new drive or folder where you want to move the games.
- Start the Transfer: Follow the tool’s instructions to move the games. The tool will handle copying and updating Steam’s file paths.
Troubleshooting Common Issues

Games Not Recognized After Moving
If Steam doesn’t recognize your games after moving them, try the following steps:
- Verify Game Files: Go to Steam, right-click the game, select “Properties,” navigate to “Local Files,” and click “Verify Integrity of Game Files.”
- Reinstall the Game: As a last resort, you can uninstall and reinstall the game to the new location.
Performance Issues
If you experience performance issues after moving your games, consider these tips:
- Check Drive Health: Ensure the new drive is functioning correctly and has no performance issues.
- Defragment Your Drive: If you moved games to an HDD, defragmenting the drive might improve performance.
- Update Drivers: Make sure your storage drivers are up-to-date.
Related Post:
Big Brother Reindeer Games: A Winter Wonderland of Competition
2 Player Games Unblocked: The Ultimate Guide to Fun and Friendly Competition
OVO Cool Math Games: A Complete Guide to Mastering the Game
Moving Steam games to another drive can enhance your gaming experience by freeing up space, improving performance, and providing backup options. Whether you use Steam’s built-in features, manually move files, or rely on third-party tools, this process is straightforward with the right guidance.
By following this comprehensive guide, you can easily relocate your game library to suit your needs, ensuring that your games remain accessible and optimized for your system. Enjoy your gaming experience with more space and efficiency!


